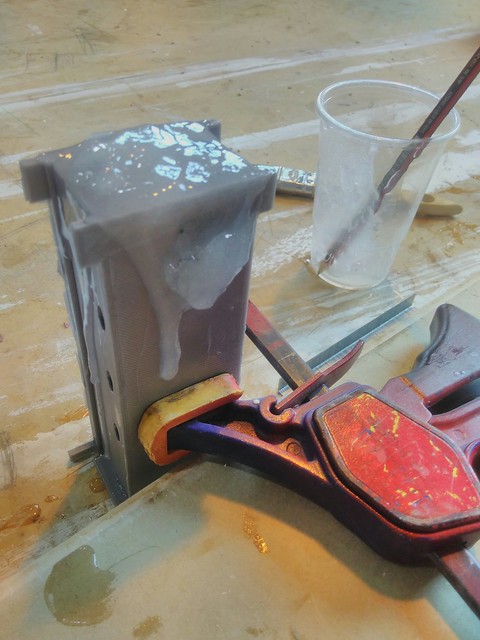
I printed a small, self-contained mould in PLA for testing purposes. This section has the proportions that will hopefully be used in the final design, however, it does not need to join to any other sections of tentacle. I coated the pieces in PLA sealant XTC-3D.
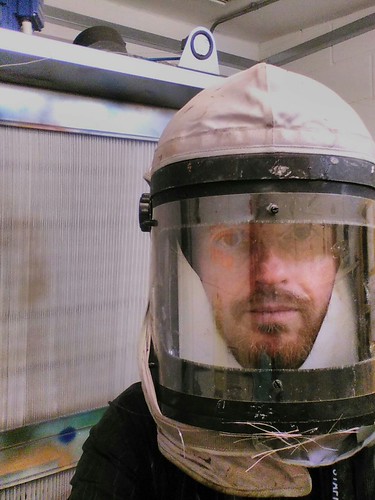
I had previously been warned away from this sealant both because it’s fairly toxic and because the person selling it warned it may have an inhibitive effect on the silicon. I used the facilities that the University of Kent makes available for people working in resin to limit my exposure to the toxicity. I also coated the sealed mould in jelly vaseline, both to provide a barrier against any effects of the XTC and to make release easier. This was entirely successful.

The sealant did tend to pool and form drops which dried in place. This would reduce the thickness of the cast piece, so I adjusted the moulds to compensate for lost thickness. I also sanded off drops. Some of the sealant also created lumps that prevented the mould from shutting properly, so I chiselled those parts away.

Another difficulty was that the silicon I bought is too thick to pour into the top of the mould all in one go. It does not reach the bottom. The store suggested that I paint the inside of the mould with silicon, close it, mix up a second batch, and pour more in the top. This did not work.

The silicon pooled at the top and failed to fill the mould. This was partly because, the sealant had filled up all the small air channels that I’d left in the moulds, and thus air became trapped, leaving no room for the silicon to fill the mould. I then drilled out the holes, using a drill press due to a shortage of charged batteries.

I tried again using three separate pours and the result was much better, but still inadequate.

PlatSil Gel 00 is simply too thick to use in this kind of mould. The bottom of the mould (top of the picture) looks mostly alright, but there are still large airholes where air became trapped. Thinner silicon may solve this problem, or it may be necessary to put a third air channel at the apex of the arches in the mould.
I have lost access to the University of Kent’s workshop due to the School of Music and Fine Arts closing, so I’m hoping that just drilling through the existing moulds will be sufficient.
The flat piece of the design works extremely well with both this silicon and release agent, so the silicon I purchased will work for part of the final application.

Due to the aforementioned closing of the workshop and my loss of affiliation with Kent, I rushed to print and coat an entire three-part mould, despite not having time to test if my join design will work.
To reduce the need for chiselling, I tried using masking tape to cover all the parts where the moulds touch each other and seal. This did not work, however, it’s possible I just needed to remove the tape sooner.

The last picture shows a translucent white PLA. My previous batch of grey PLA was rescued from an incinerator by refil. By the time I ran out of it, they’d sold out, so I’ve switched to their normal supply of PLA, made out of recycled vegware – the alledgedly biodegradable cutlery and coffee cup lid plastic. As far as I know, this is not generally recycled in the UK, and it’s always better to use non-disposable items in cafes.
Next Steps
In my previous post, I had confessed to feeling discouraged, but I do think the latest efforts have turned a corner. Although I have lost access to my workshop, silicon is not at all toxic to handle and requires no special precautions, so I should be able to try pouring with more appropriate material at home.
My moulds may require more air channels, but I’m hoping this will not require reprinting them. Printed holes are contained by walls, whereas ones drilled through a print will open directly to the supporting grid of the print. 3d prints are not solid, but have a largely hollow matrix supporting the outside walls. Keeping a drilled hole clear may prove to be problematic, but even if this is the case, getting only a single good cast will prove that the concept is sound.