
11 May 2005
The cemetery on Liberty Street

11 May 2005
The cemetery on Liberty Street

11 May 2005
The cemetery on Liberty Street
11 May 2005
Taking apart my bed. - Photo documentation
11 May 2005
Taking apart my bed. - Photo documentation
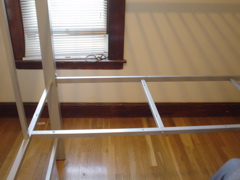
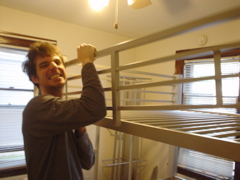
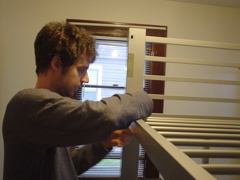
Assembled
11 May 2005
Taking apart my bed. - Photo documentation
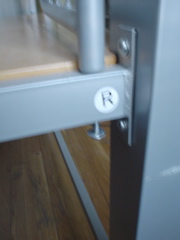
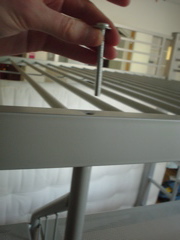
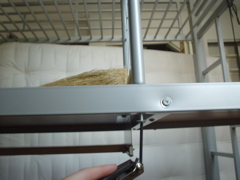
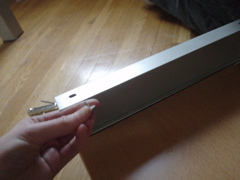
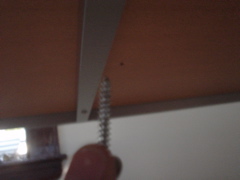
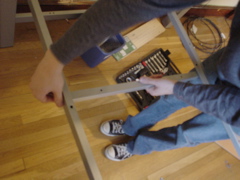
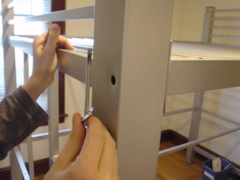
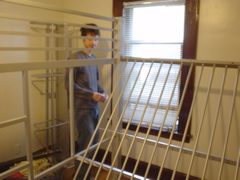
I took out the top rails on the back first
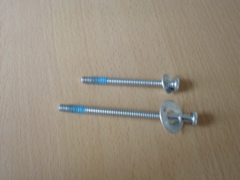
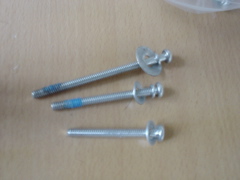
long screw with big washer goes thru the end piece

11 May 2005
Taking apart my bed. - Photo documentation
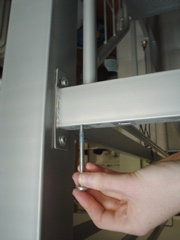
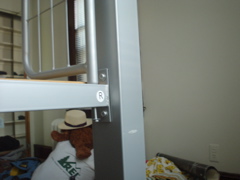
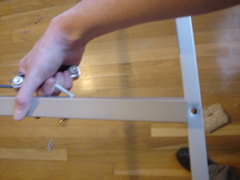
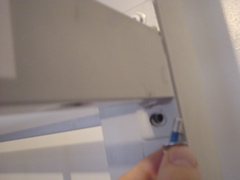
I took out the top rails on the back first.
Shorter screws on bottom
11 May 2005
Taking apart my bed. - Photo documentation
11 May 2005
Taking apart my bed. - Photo documentation
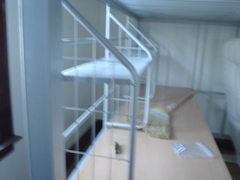
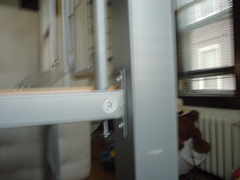
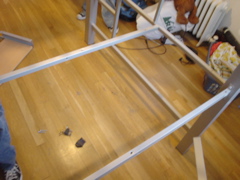
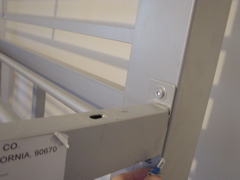
After I got the rails off the back top, I removed the bookshelf.
11 May 2005
Taking apart my bed. - Photo documentation
Bookshelf is held in by smaller screws
11 May 2005
Taking apart my bed. - Photo documentation
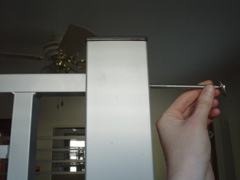
Taking off the bookshelf
11 May 2005
Taking apart my bed. - Photo documentation
11 May 2005
Taking apart my bed. - Photo documentation
Removing the bookshelf
11 May 2005
Taking apart my bed. - Photo documentation
11 May 2005
Taking apart my bed. - Photo documentation
11 May 2005
Taking apart my bed. - Photo documentation
The keyboard drawer is held in place by 4 very short screws on the bottom of the desktop
11 May 2005
Taking apart my bed. - Photo documentation
The desktop is held on by pointy phillips head screws through a support structure
11 May 2005
Taking apart my bed. - Photo documentation
Desktop removed
11 May 2005
Taking apart my bed. - Photo documentation
We took out the middle supports
11 May 2005
Taking apart my bed. - Photo documentation
Middle support gone
11 May 2005
Taking apart my bed. - Photo documentation
David took out the other one
11 May 2005
Taking apart my bed. - Photo documentation
David pulls off the front railing next
11 May 2005
Taking apart my bed. - Photo documentation
Next step was the mattress platform. We took out the large outside bolts first, all the way around
11 May 2005
Taking apart my bed. - Photo documentation
Not the we left two of the desk supports to keep the bed from falling over. This may not be the right way to re-assemble, though.
11 May 2005
Taking apart my bed. - Photo documentation
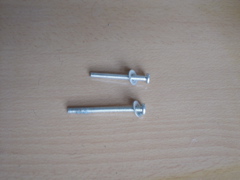
big bolt
11 May 2005
Taking apart my bed. - Photo documentation
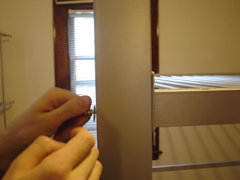
The inside bolts are small. We took off the bottom ones first
11 May 2005
Taking apart my bed. - Photo documentation
11 May 2005
Taking apart my bed. - Photo documentation
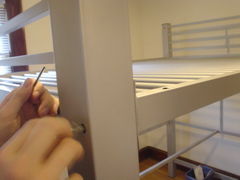
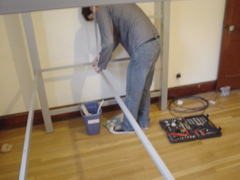
Then we took off the top bolts on the mattress platform on the front of the bed
11 May 2005
Taking apart my bed. - Photo documentation
The platform resting only on the two top bolts on the back side
11 May 2005
Taking apart my bed. - Photo documentation
We took off the desk support bar (it's normally right under front edge of desktop)
